WHAT IS A BRAKE WARNING LIGHT & HOW TO FIX IT

In this article, we will go over what a brake warning light looks like, how to inspect possible issues related to it, and the different options to fix it.
When a check engine light comes on it’s a scary sight. It can turn an otherwise great day into a stressful one in an instant. Unfortunately, there are other lights that can show up on the dashboard that are just as frightening. One of these examples is a brake warning light. Just like a check engine light, it will only get worse if you ignore it.
While the time varies on how soon larger problems can occur, the point stands that driving with a possibly faulty brake system can put your wallet and your most precious cargo at risk. Here’s a quick guide to help you diagnose the problem and resolve it quickly.
WHAT DOES A BRAKE WARNING LIGHT LOOK LIKE AND WHAT DOES IT MEAN?
Some common brake lights that can show up on a dashboard include:
This light is a warning that brake pads are getting too worn and should be replaced soon:

If these lights go off and on repeated or when you turn, it can mean to check the brake fluid level in the master cylinder:

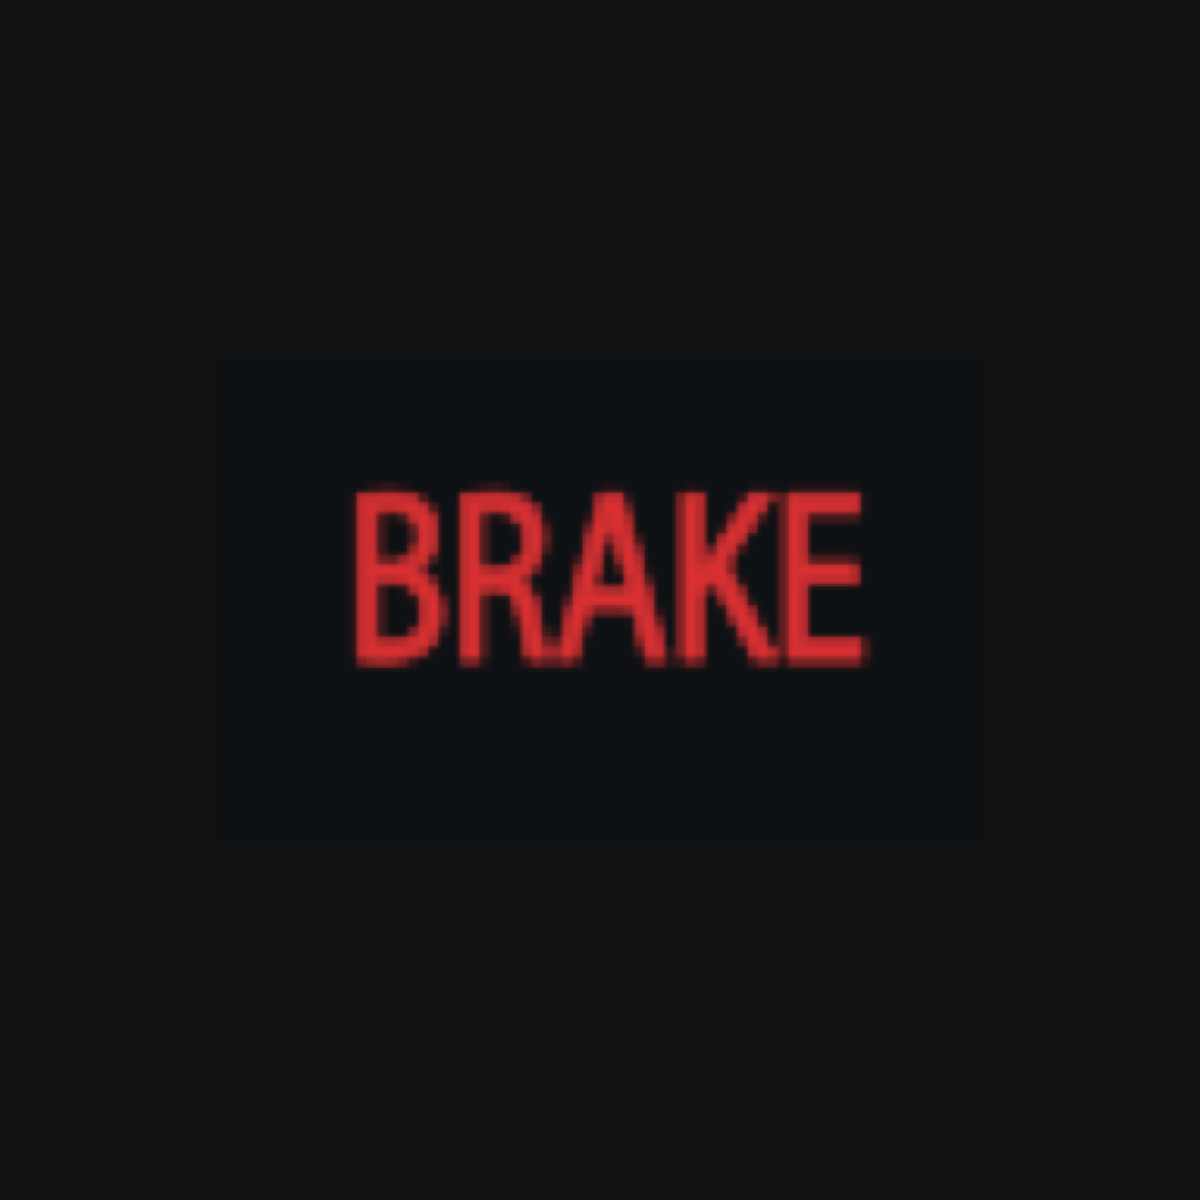
This brake light indicates that there is an issue with your parking brake, or it is still engaged:

These lights indicate different possible issues within your braking system. All vehicles are different, which means the brake warning indicator could be different on your vehicle than these. Refer to your vehicle’s Owner’s Manual to be certain which light pertains to your specific vehicle.
*Note: ABS Warning Lights can sometimes be related to the hydraulic brake system, but have to do specifically with your vehicle’s Anti-Lock Brake System.
WHEN DID THE BRAKE WARNING LIGHT SHOW UP?
If the brake warning light comes on and stays on when you start your vehicle, do not begin to drive it. Turn your car off and inspect the possible causes of the issue (we will get to those soon).
If the brake warning light comes on while you are in traffic or driving, don’t panic. Your vehicle has more than one hydraulic braking system. So, while it may take a little longer to come to a complete stop than usual, safely pull over and have your vehicle towed to your home or to a trusted mechanic to inspect.
Again, it is important that you do not continue driving and ignore the brake light, this can cause more damage to the braking system and be very dangerous.
*Pro Tip: when you first turn on your vehicle, all the lights on the dashboard should illuminate. If you see one or more do not turn on, you may have a problem with the specific indicator.
INSPECTING & FIXING THE ISSUE:
Now that we know what the light showing on the dashboard means, we can inspect certain parts of the brake system and if we find the problem, fix it!
1) BRAKE FLUID
Brake fluid is essential to brake performance. When you press the brake pedal, pressurized fluid in the brake hoses/brake lines force a piston in the calipers to apply pressure on the inner brake pads, squeezing the pads and brake rotor for you to slow down.
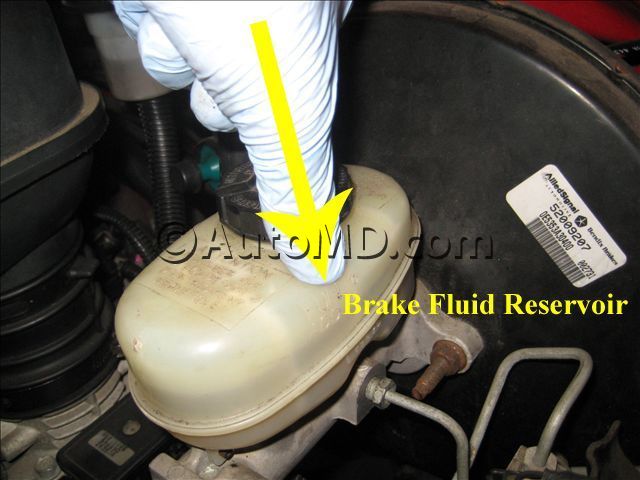
To check it, first, find the master cylinder (also called brake fluid reservoir) (pictured below). It is usually white or yellow plastic and located on the driver’s side. Then, check the fluid level. There should be minimum and maximum markings on the side of the reservoir to show the optimal range of fluid. If you find the fluid is too low, add new brake fluid to the reservoir. However, you will need to flush your brake fluid before adding new fluid.
Another thing to check is the brake pedal. Press down on the pedal with force. If it goes to the floor, there may be a leak or air in the brake system. If the pedal feels firm, that is a good thing.
2) PARKING BRAKE
Depending on what type of parking brake your vehicle is equipped with, you may find that it could be still slightly engaged. If so, the parking brake specific warning light indicator will illuminate. To fix this issue, just release the parking brake all the way.
3) BRAKE PADS & SENSORS
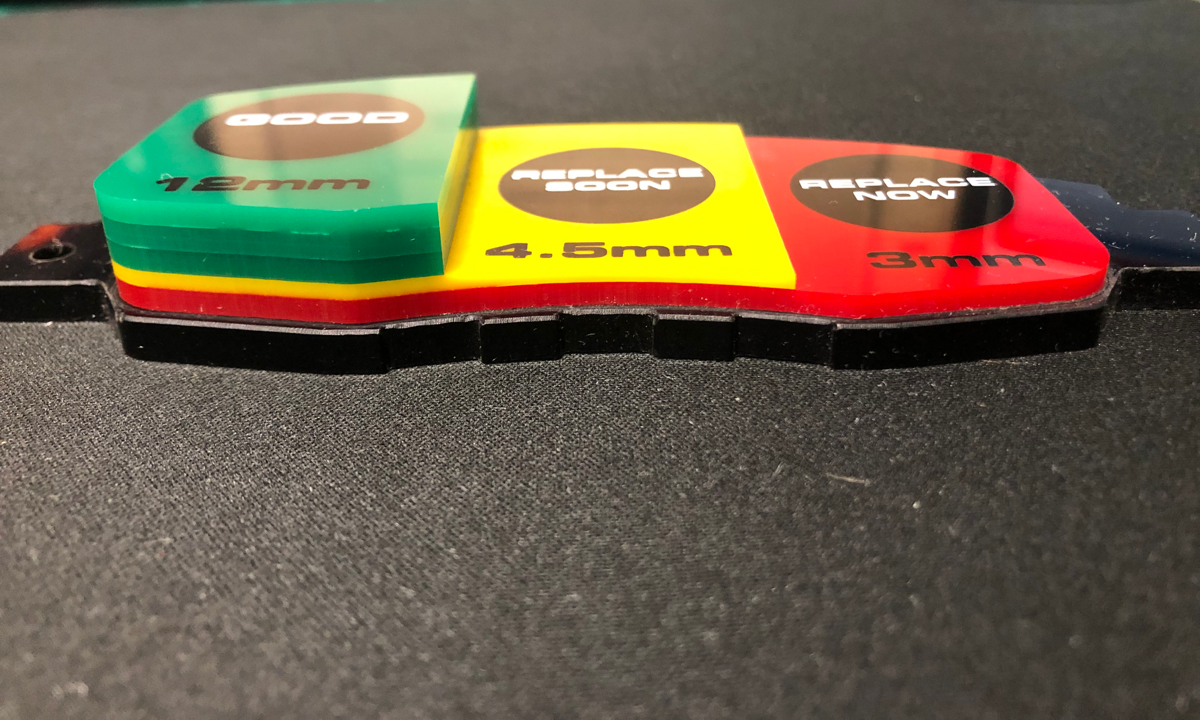
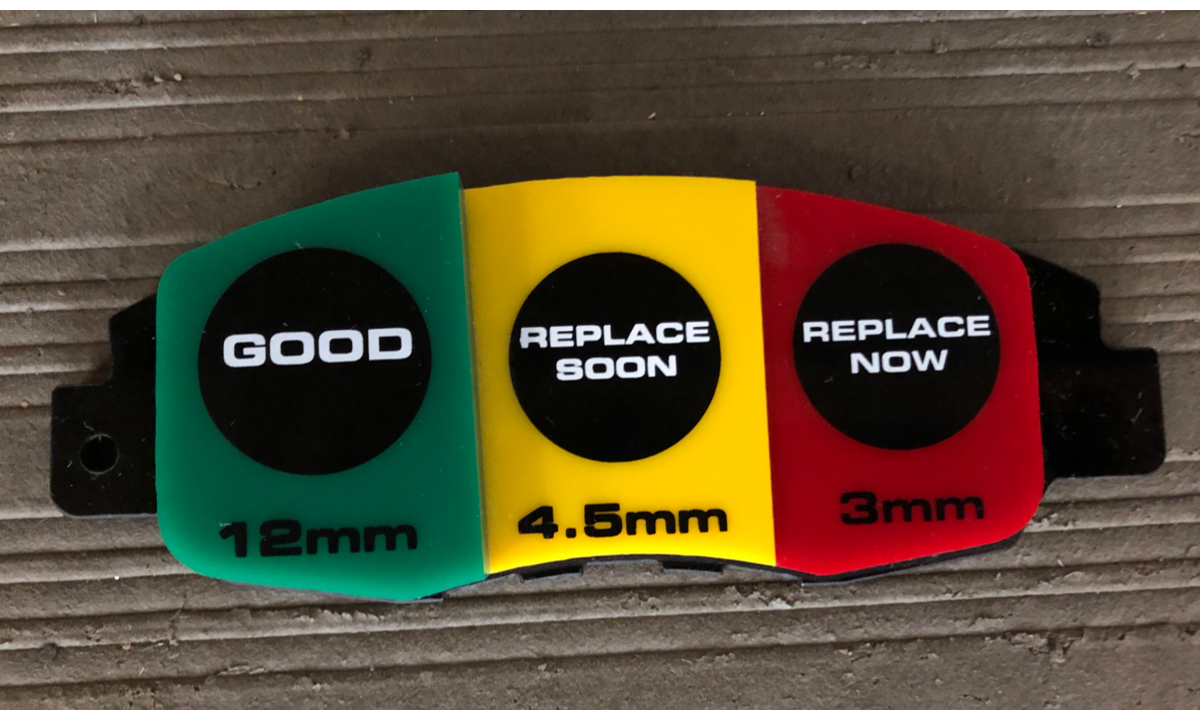
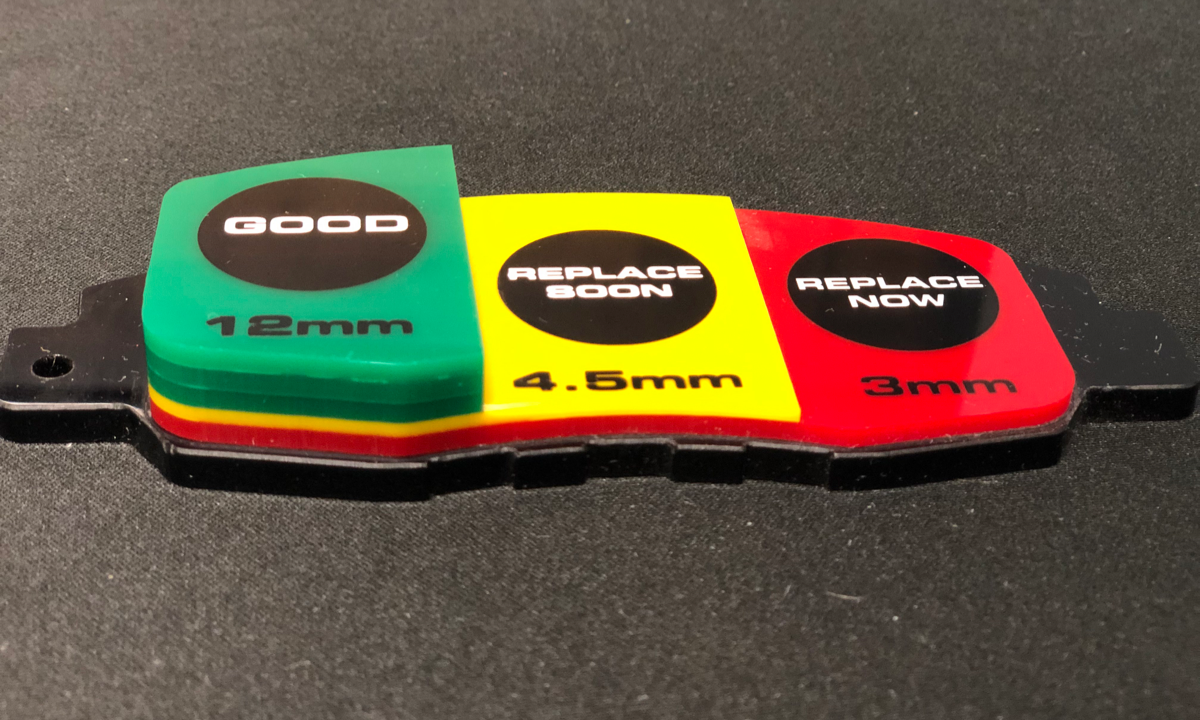
Brake pads wear over time and use. When they wear too much, you should replace them. Here is an easy tool to demonstrate different thickness intervals of brake pads:
The “good” range would represent a new or unused brake pad. It is a recommended to replace the pads as the thickness of the pad wears down to ~4.5mm and below. A pad in the “replace now” range can have poor stopping power and begin to damage the rotor.
Some vehicles’ brake pads use electronic sensor wires. They are a safety component that alerts you (through a brake pad warning light) when your pads are too worn. Basically, the sensor connects in the brake pad and comes in contact with the rotor when the minimum thickness of the pad has been reached. For more about sensor wires and how they work with your brake system, check out this video:
Found your brake pads to be too worn? It’s time to replace them.
Letting the mechanic put any old off-the-shelf parts on your car shouldn’t be the first option, though. You want long-lasting confidence in your brake system, and not all brakes are made equal. Because of this, more and more people are researching, reading reviews, and watching video to find the best replacement upgrade. Fortunately, it’s easier than ever to be in control.
Using PowerStop’s Brake Finder, all you need to do is type in your vehicle and a list of brake kits that perfectly fit your vehicle will show up. Choose a kit that matches your driving style, and bam, you’ve got yourself upgraded brakes at an affordable price. All our brake kits come with everything you need – no extra trips to the parts store needed.
Don’t want to install them yourself? No worries. Some customers may prefer to DIY install their new brake themselves, but there’s an easier way. Just bring the kit to your trusted mechanic, and they can install it for you. You get the confidence of knowing quality parts are on your vehicle, without having to do the dirty work. Now that’s smart.


Leave a comment