The APR Performance Front Wind Splitter (hereinafter referred to as "Splitter") is an aerodynamic tuning component that plays an important role in helping a vehicle achieve aerodynamic balance. Just as there are significant forces acting upon the rear-end of a rear wing-equipped vehicle, there are also significant forces acting upon the front-end of a Splitter-equipped vehicle. To help ensure a smooth installation, please read the following guidelines before you begin any work on the Splitter.
Important Notes – Must Read!!!
1. Please note that regardless of whether a Splitter is sold as a custom or pre-defined/pre-existing application, all Splitter installations are considered custom installations. There is no such thing as a Plug-n-Play Splitter installation.
2. On a vehicle traveling at higher speeds, a properly-installed Splitter will see anywhere from double-digit to triple-digit downforce numbers. This means there can be a vertical force of up to 100 pounds or more being exerted across span of the Splitter surfaces. Vehicle speeds and these forces must be considered before any splitter installation!
3. An improperly-installed Splitter may also see the same forces briefly, until it begins to un-mount, tear itself apart, and pull chunks (if not the entire front bumper) away from the vehicle. Don’t let this happen to you!
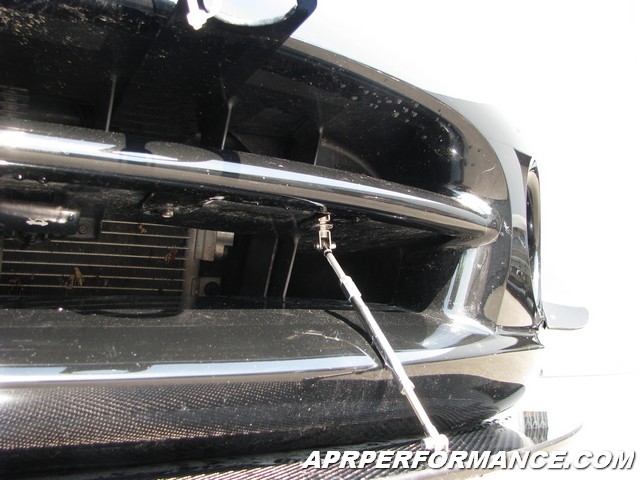
4. Splitter Support Rods are included with all Splitters. Unless a custom, structurally-reinforced mounting system is professionally-fabricated by a well-qualified race/fabrication shop, the included Splitter Support Rods must be used, and must attach to suitable and secure mounting points (i.e. steel bumper beam, fiberglass structural support, etc.).
5. All Splitters will have some amount of flex built-in. Honeycomb types tend to flex much less than non-honeycomb types of equivalent weight. To maximize splitter efficiency and reliability, it is important to mount the Splitter to the vehicle at multiple points so that flex is minimized. These mounting points include, but are not limited to: front support rods, bolts/nuts to the front bumper or front air dam, rear supporting L brackets, center support brackets, etc. Larger Splitters will need more support than smaller Splitters will need. When the Splitter has been installed, inspect it carefully with the vehicle on a lift. Pull/push on different areas to see where the Splitter is still flexing, and reinforce the weakest areas with additional support brackets.
6. The owner assumes full responsibility for ensuring proper installation. Professional installation by well-qualified personnel is highly recommended. If you have any questions or require additional parts (i.e. longer Splitter Support Rods), please contact APR Performance at (909) 594-3796.
Installation Procedure:
1. First, remove the bumper from vehicle, then place the bumper over the Splitter on a table.
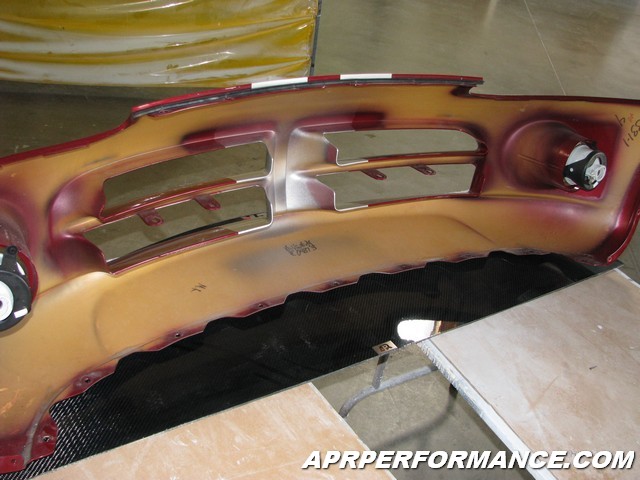
2. Line up both edges of bumper and splitter, and temporarily clamp the assembly together on both sides.
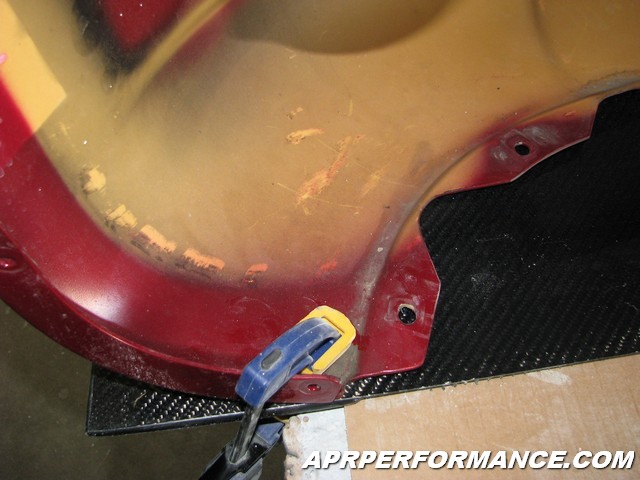
3. Use an 8mm (1/4”) drill bit to drill mounting holes through the Splitter and bumper. Secure with supplied bolts, washers and nuts (bolts point upward, threads on top).

4. Install the Splitter support rods.
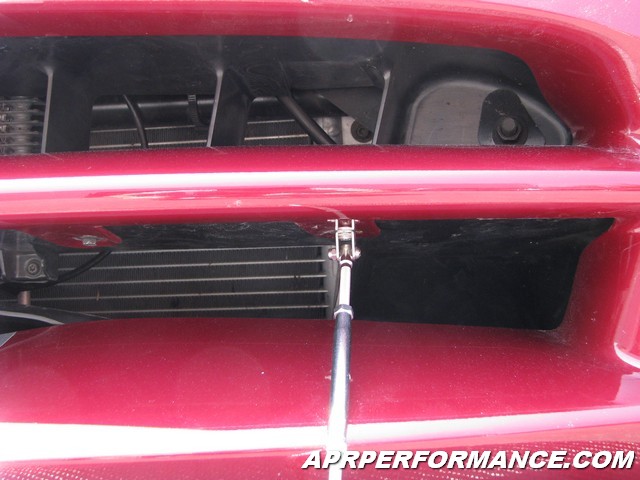
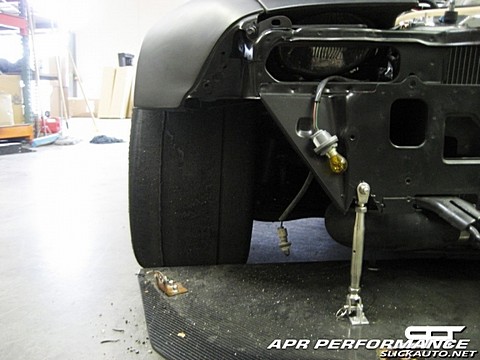
5. Install additional support brackets as needed.

Example: Custom support bracket connects to steel bumper beam on a Mazda Miata (http://slickauto.net/)
Example: Custom support bracket connects to subframe on a Nissan 350z
6. Re-install the entire bumper and Splitter assembly onto the vehicle.
Warning
User assumes full responsibility for ensuring proper installation as intended. Professional installation by well-qualified personnel is highly recommended. The vehicle applications shown above are intended to work as a complete system when installed onto original vehicle body parts (i.e. front bumpers, air dams, etc.). To insure proper function and reliability, APR Performance advises against modification or substitution of any component of the intended installation. Any modification or substitution of hardware included with the splitter create unsafe operating conditions and ultimately cause this system to fail. Substitution of original vehicle manufacturer parts needed for the intended installation (i.e. front bumper) with non-original parts may also create unsafe operating conditions and ultimately cause this system to fail.